


Many years ago, my neighbor mentioned the concept of winter sowing to me. He said I could plant seeds in old plastic jugs, leave them outside in the dead of winter, and they would take care of themselves. What?!?
I was a bit incredulous. Up until then I had allowed my entire dining room table to be overtaken by growing lights and trays of seedlings – which, for all my efforts, would often get spindly. And somewhere along the way, I would overwater my precious scores of tomato plants, and they would turn yellow and wilt. Next, half the leaves would drop, and the remaining half would get kind of grey and yucky looking – zombie plants we called them. They looked the part. I planted these gray-green, spindly creatures in the garden because I couldn’t waste all that effort! And these plants, although courageous, were weakened from the start, and their yields were low. *Sob.* So, needless to say, I was intrigued by this method that takes no indoor space and barely requires watering. What’s more, supposedly these plants would be robust, not spindly! That was about eight years ago, and I have been completely won over by the winter-sowing method ever since. You had me at “no more grow lights,” “get your dining room table back,” and “mostly ignore them.”
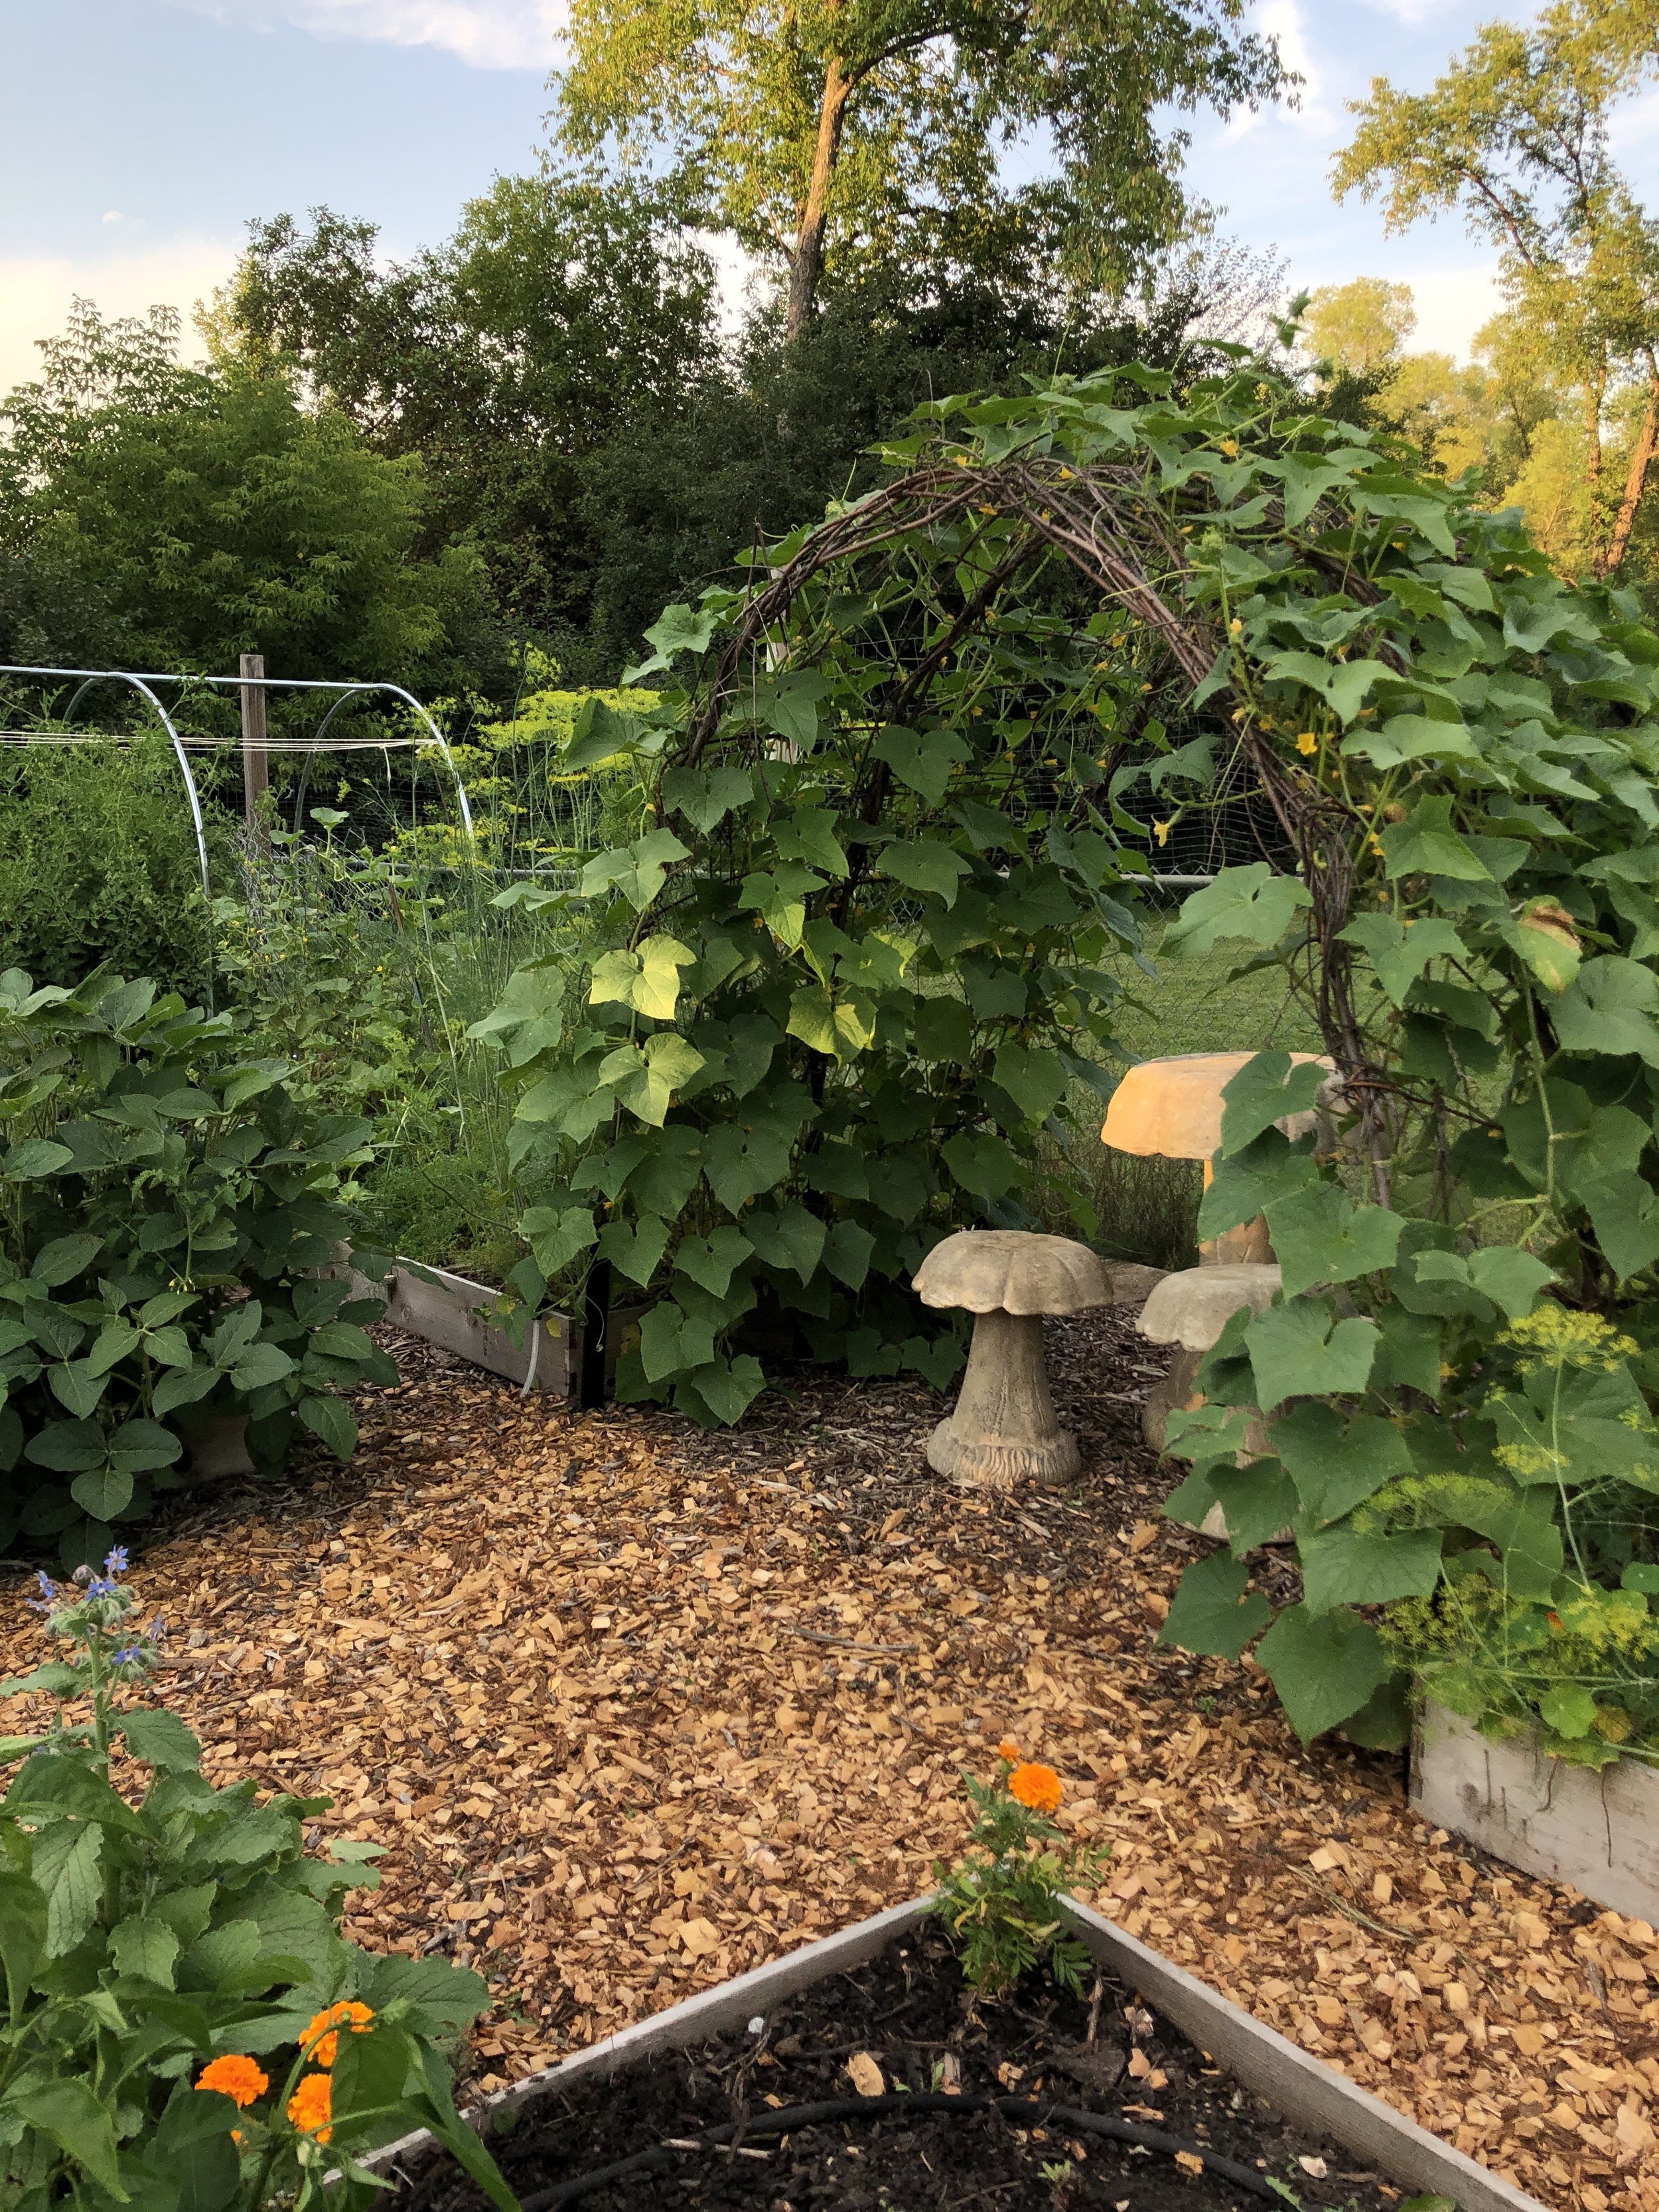
In addition to the low maintenance nature of this method, you also can worry much less about the timing. For the most part, you leave that to Mother Nature. Many seeds can be started as early as January or February (although some more sensitive seeds may be better off waiting till March or April). Regardless, the timing is flexible. The seeds will sit and wait patiently – through freezing temperatures and snow storms, under layers of ice and snow. When the time is right, they will sprout, and all that came before will not phase them in the least. These little seedlings will grow into strong, stocky plants accustomed to outdoor living, ready at a moment’s notice to move to their garden home. What’s more, we can get our hands in the dirt when we can totally use the therapy – planting and dreaming of the warmth and green that is almost, kind of, hopefully! *right* around the corner. So, with well wishes to your coming year of growth, here are my no-fuss instructions for winter sowing those seeds of promise!
Materials
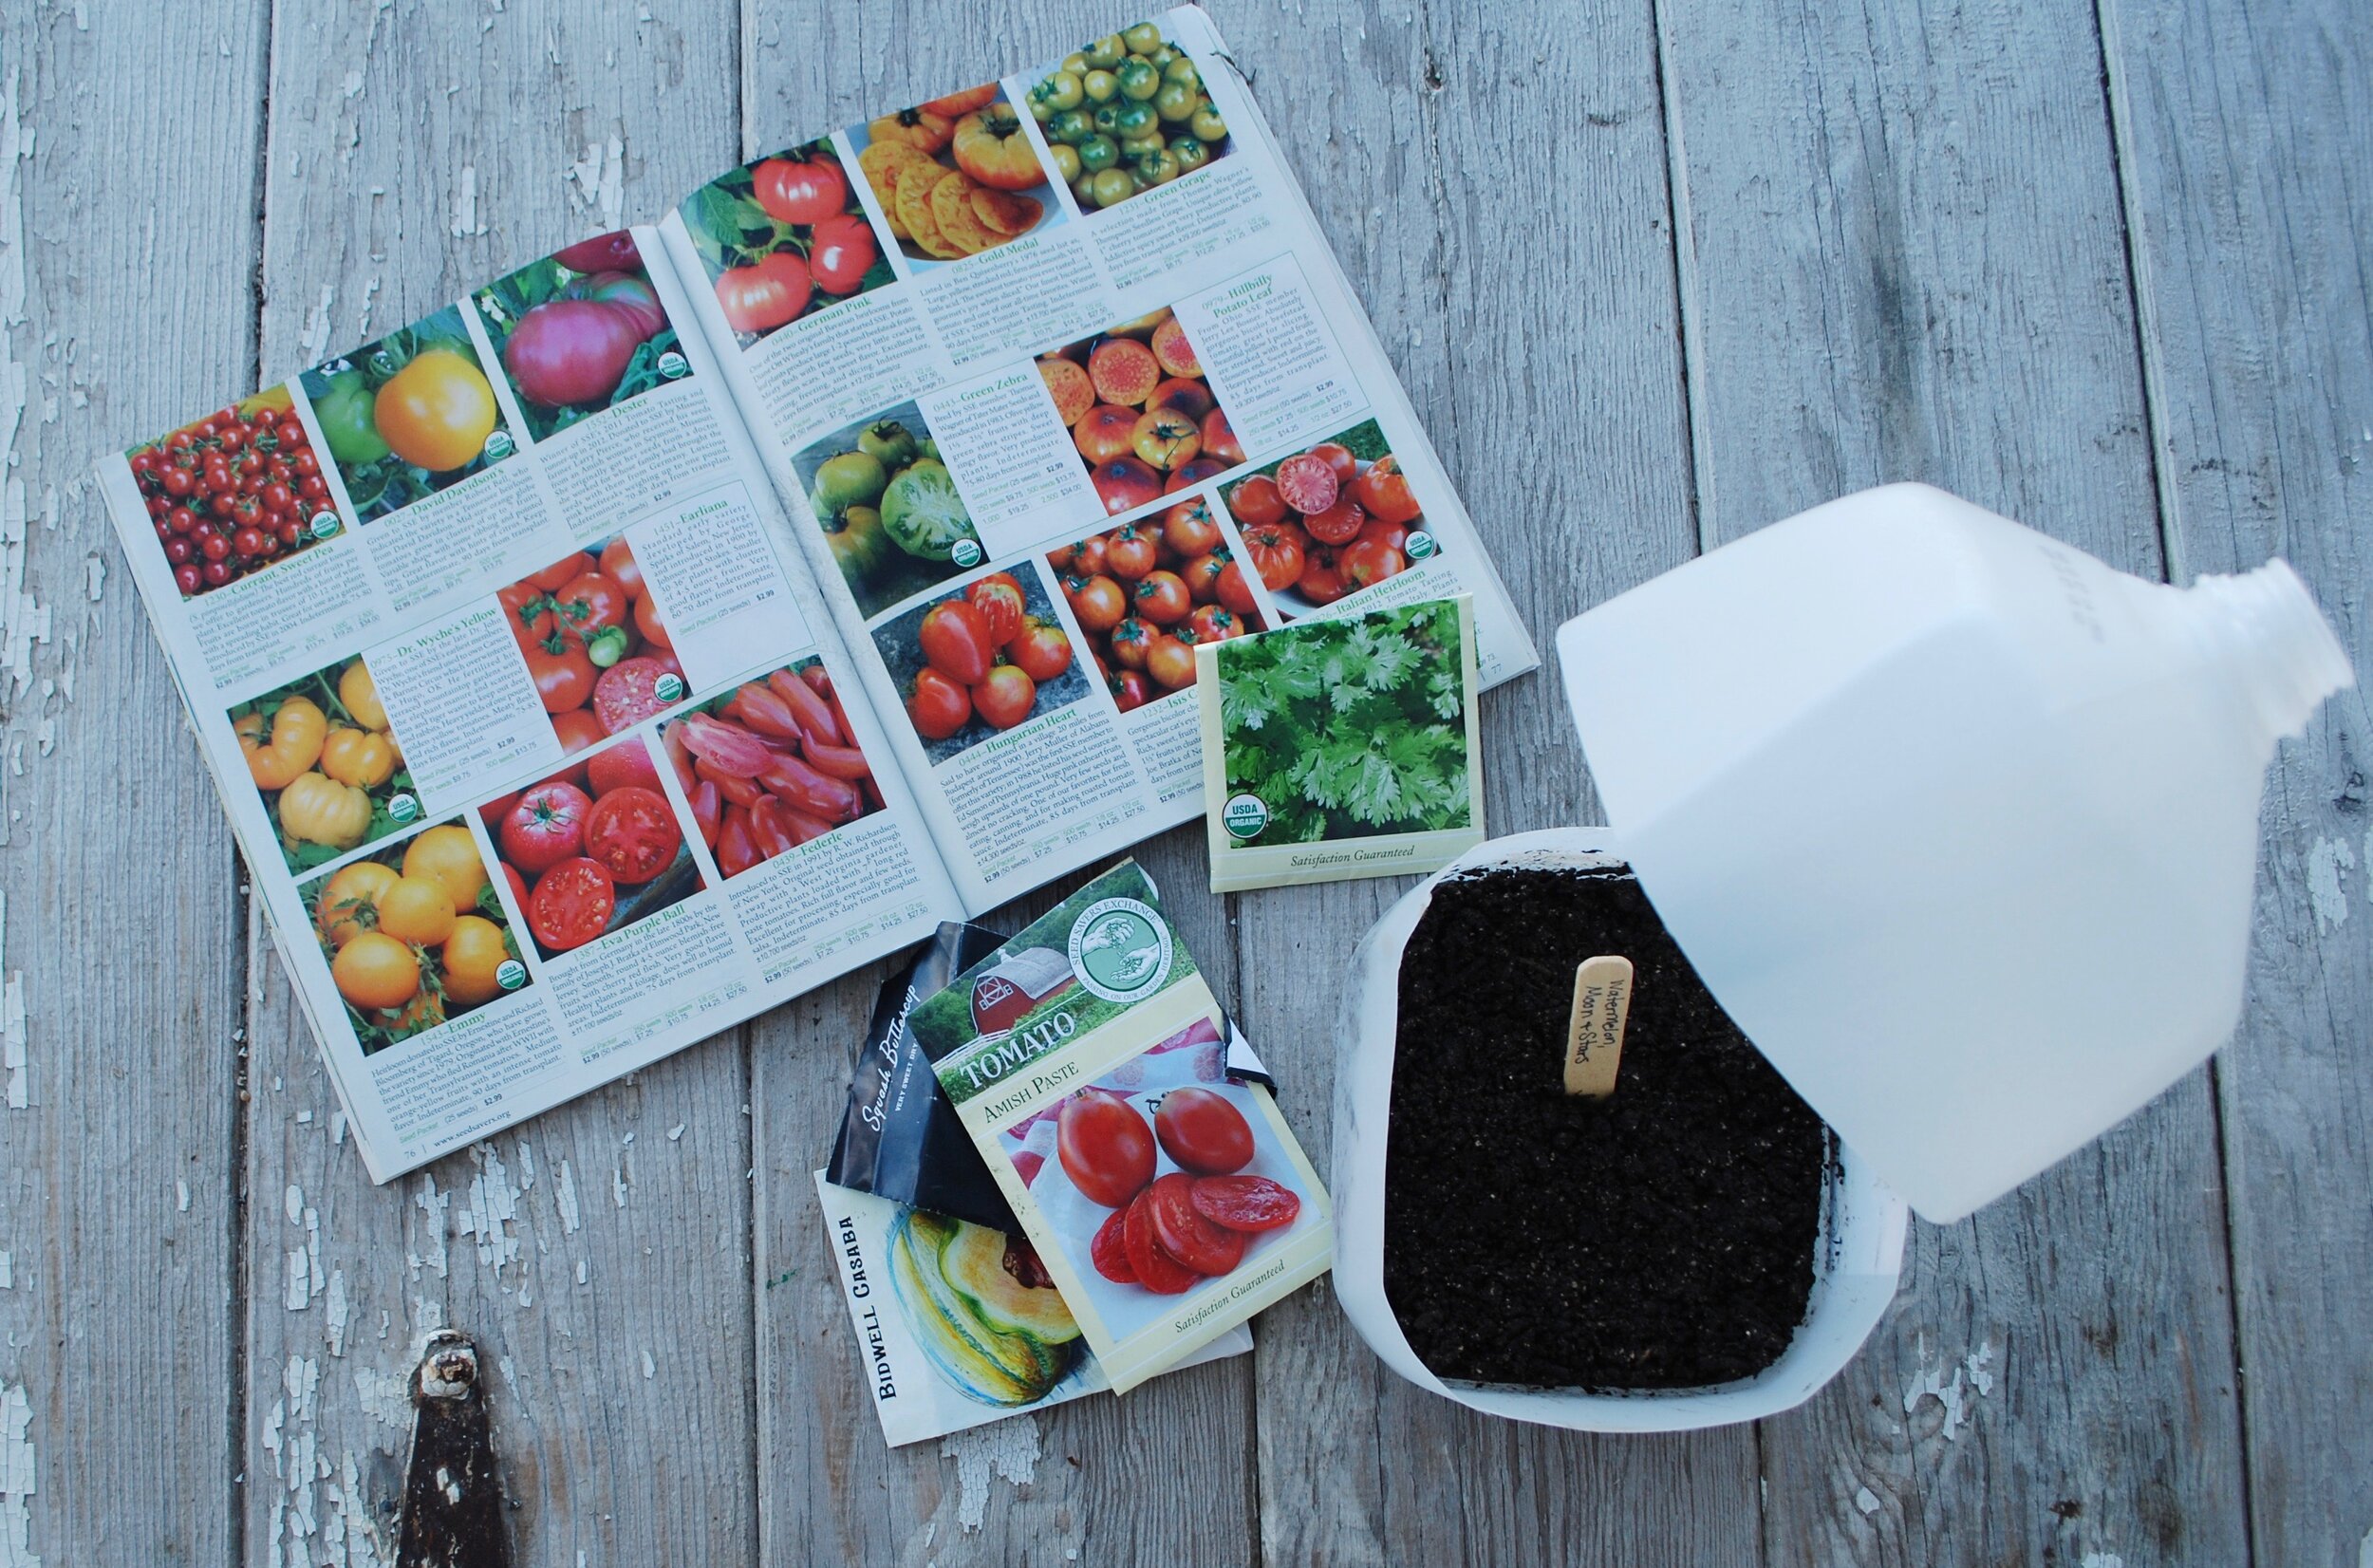
Containers – Save any clear plastic jugs or bottles from milk, juice, soda, etc. The semi-opaque milk jugs will also work, as long as some light can filter through the plastic. Opaque milk and juice containers like the white plastic ones will not work. Rinse the bottles out with hot water and a bit of soap. You do not need to save the caps. A 2-liter pop bottle holds one to two plants, and a gallon milk jug will hold 3-4 plants. Feel free to get creative - any container with a decent amount of depth will work.
Dirt – The simplest solution is to get a bag of organic potting soil – it will have the needed nutrients and moisture control and be free of any yucky stuff like antibiotics and growth hormones. With this method, a “seed starting” mix will not work well because it isn’t intended for supporting growth much beyond small seedlings.
Seeds – The best bets for winter sowing in our cold Minnesota winters include cool weather crops like broccoli, cauliflower, cabbage, collards, kale, leeks, lettuce, onions, shallots and Swiss chard. Tomatoes also do very well. Wait till March for melons, cucumbers and squash. Visit my seed starting guide for a more complete list of seeds and how/when to start them.
Method
Poke four holes in the bottom of the jug for drainage.
Cut your bottles and jugs around the middle, about 4-5 inches from the bottom. Leave a one-inch “hinge” so that you can open and close the jug. A good place to do this with milk jugs is at the handle.
Fill the container with about 4 inches of soil.
Water the soil well, allowing the excess water to drain out the bottom.
Place seeds on top of the soil – up to four per gallon milk jug, and two per 2-liter pop bottle.
Cover the seeds with soil according to the planting depth indicated on the seed’s packaging. Very lightly pat down soil - enough to for the soil to make good contact with the seed, but not so much as to cause compression - light and airy soil is easiest for new roots to navigate.
Close and secure the container with duct tape, and place outside in a sunny spot open to precipitation. Here in the northern hemisphere, a south-facing side of the house just out from under the eaves works great. The south side of the house will heat up with the sun and offer a slightly warmer environment than other equally sunny spots.
At this point, you can completely forget about your plants until early spring. Check them every so often for moisture. A good sign that they have enough water is if you see condensation on the containers, or if it feels light. If one seems dry, either open the container to water it (and the re-close), or gently pour water through the opening on top of the container. As the weather warms up, you will have fun peeking in to check for those first emerging sprouts.
Once the days are in the 50s, open the mini greenhouses to allow the plants full sun. At this point you will need to pay more attention to their needs: watering more often and closing the containers again at night if temps dip below 40°F. If there is a hard frost forecast after the plants have emerged, better bring them in for the night.
Transplant your plants to the garden according to planting instructions and indicated timing on the seed packet. Since these plants have already been growing outside, there is no need to spend the time to harden them off.
Need a place to put all these new plant babies? Rustic Hills Garden Co. can help you plan your edible garden! Learn more about our services in design and installation, or contact us.
Happy Gardening!
~Melissa, Rustic Hills Garden Co. Owner